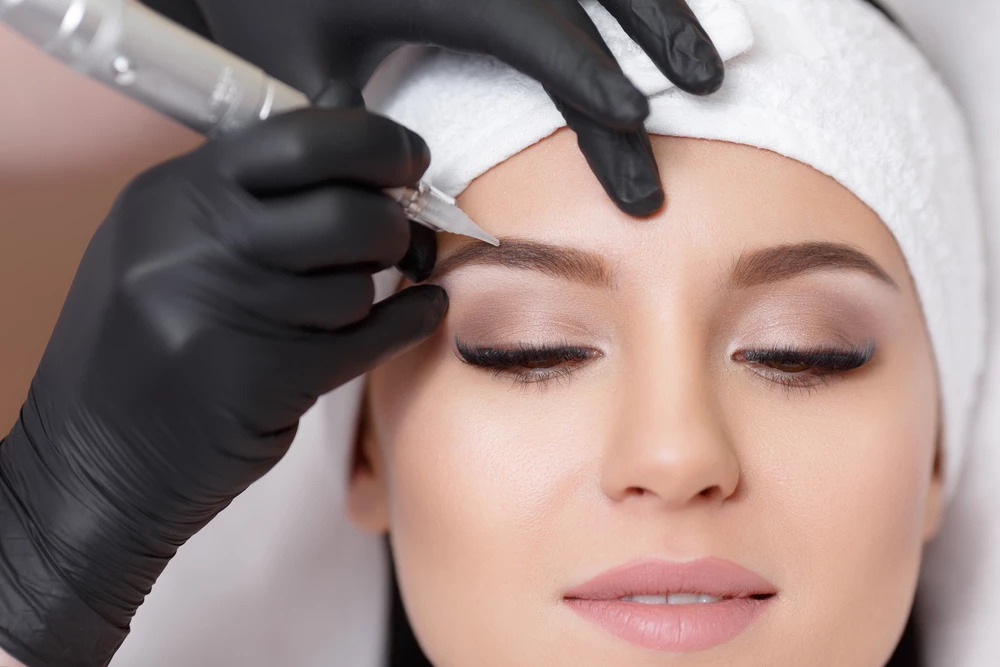
The Step by Step Microblading Procedure
There are numerous methods to microblading, my favorite is a combo technique of microblading and manual shading, which I call the Feather Style Technique outlined below. The aim is to diffuse the monotony of hair strokes, and thus I created a subtle technique which connects microblade hair strokes and gentle shading – this is especially useful to cover any imperfections, whether that is, a complete absence of hair or irregular thick and strong hair as the difference between microbladed hair and natural hair must be almost invisible to achieve a natural look.
The Procedure
1) Designing the brow
We begin the procedure with a close inspection of the skin in order to avoid skin disorders, at this point it is also convenient to take pictures of client’s eyebrows before the procedure – not only for a before and after photo to showcase your work, but also to show the client that changes that need to be made and have been made at the end.
After disinfecting the face surface, we can start drawing an eyebrow shape using golden ratio caliper and pencil, it’s important to take into consideration, both what the client desires and what fits their face shape. After consultation with client about their eyebrow shape, we can then copy the same proportions onto the second eyebrow.
2) Picking the right pigment
Before we can start drawing hair strokes, we need to choose right pigment based on skin type of the client (whether they have oily or dry skin) and the natural color of existing natural hair, so that we avoid unwanted color transformation in the healed result.
3) Drawing the hair-stroke
We start drawing the hair strokes using a 14 slope blade with a little pigment on the tip of the blade from the beginning to end of the brow, imitating natural growing of the hair strokes. It’s important to make sure that the depth isn’t more than 1mm as going too deep may be harmful to the client and too shallow will mean that the pigment will not be retained by the skin. Going 1mm into the skin will also depend on the thickness of the client’s skin, so this should be taken into consideration.
With each new hairstrokes, pick up a little pigment and after drawing all your hairstrokes, wipe the brow and put topical anesthetic on top, and repeat the procedure on the second eyebrow. While the anesthetic does it’s magic, we go back to the previous brow and start to fill strokes two to three times.
With all the hair strokes filled in we can put a color mask on for 10 minutes, then wipe eyebrows and start the shading.
4) Shading
It’s important for the eyebrow shading to follow the needs of the client – not the fashion trends. You should therefore shade where it is needed, this means, we shade the bare skin between hair strike using shading needles. When you have a larger surface, you can use 9 or 15 double row needles and for smaller patches of skin, 5 or 7 round needles while holding your needles at an angle of 90 degrees.
Shading should occur by shading gently in a tapping motion in layers, the darker you would like the brows, the more layers should be applied, conversely, a lesser amount of layers result in a lighter effect. Unlike drawing hair strokes, there is no need to apply a colour mask after shading.
When the procedure is completed, take a picture of the client’s eyebrows, for both your portfolio, and to show the client the before and affecter effects of your work.
5) After care
It’s important to inform the client that this procedure is in essence, a tattooing of the skin, where the epidermis layer of the skin is harmed, and therefore it required the proper aftercare to heal, in order to retain the results of microblading and prevent infection and scarring. On the day of the procedure, the client will need to wash their eyebrows with soap and warm water, and then dry them gently with a cotton pad, and then apply the healing cream every hour with a minimum 5 times on the first day in order to avoid scabbing. After this, from the second day and for the following week, the healing cream should be applied 3 times a day.

